
Scratch Area & Snapping Guides
To help you position elements with pixel-perfect accuracy, Open Publisher features a robust snapping system, dynamic guides, and an off-canvas storage area.
The Scratch Area
Objects that you drag partially or completely off the page canvas enter the Scratch Area – an invisible staging zone surrounding the page. These elements are preserved in the document but do not appear in printed or exported output.
To manage scratch area visibility, go to the View ribbon tab and click the Scratch Area toggle button. When toggled off, all off-page elements are instantly hidden from view (but not deleted), allowing you to focus cleanly on your page layout.
Rulers & Custom Origin
Pixel rulers run along the top and left edges of the canvas, giving you a precise spatial reference while you work.
To show or hide rulers:
-
Go to View > Show > Rulers.
-
Or, right-click in the workspace background and select Show/Hide Rulers.
By default, the ruler’s 0,0 origin sits at the top-left corner of the canvas. You can redefine this origin to any point on the page: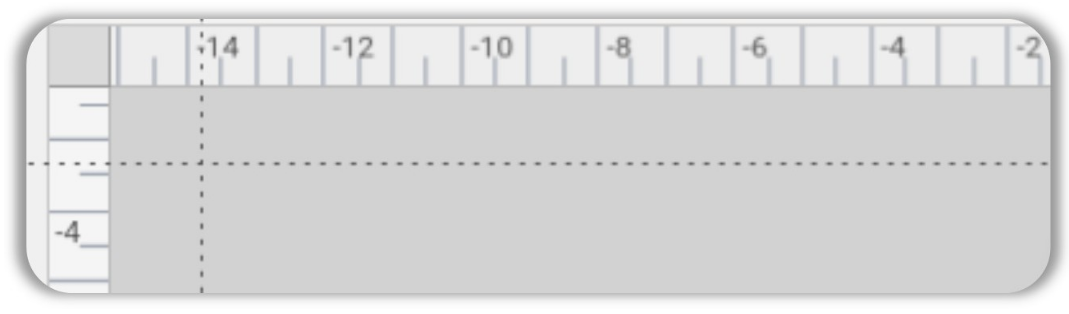
-
Drag the grey intersection box (where the horizontal and vertical rulers meet, at the very top-left corner).
-
As you drag, dashed guide lines follow your cursor across the page to help you visually pinpoint the target coordinates.
-
Release to set the new zero point. All ruler ticks and labels immediately recalculate from the new origin.
-
Double-click the intersection box at any time to instantly reset the rulers back to their default position.
Your custom origin is saved into the .opub file, so it persists across sessions.
Snapping Systems
Open Publisher provides three independent snapping systems that can be toggled individually:
| Snap Mode | What it does |
| Snap to Grid | Elements snap to an invisible pixel grid as you drag. |
| Snap to Guides | Elements snap to the margin guide lines. |
| Snap to Objects | Elements snap to the edges and centres of other elements on the page. |
To manage snapping: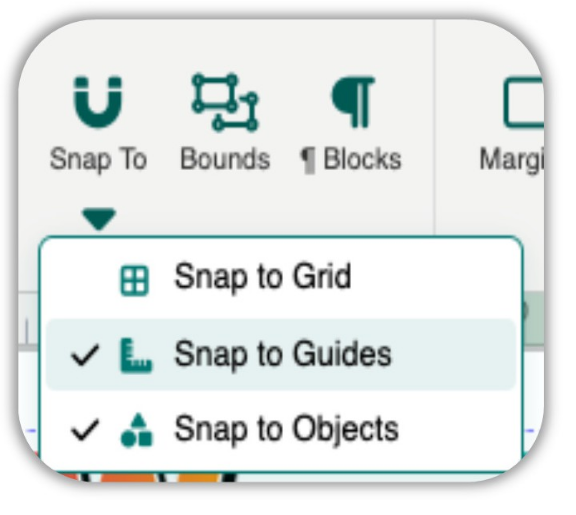
-
Use the Snap To dropdown in the View tab, the Text Box Tools ribbon, or the Picture Tools ribbon.
-
Or right-click the canvas and select the snapping options from the context menu.
Hold Ctrl while dragging to temporarily bypass grid snapping without toggling the setting off – the most efficient way to place something between grid positions.
Snap tolerance: The magnetic pull distance for Snap to Guides and Snap to Objects is set to 8 pixels, providing a subtle and predictable snap feel that matches professional desktop publishing software.
Smart Grid Prompt: If you turn off “Snap to Grid” while the visual grid overlay is currently visible, a dialog intelligently asks if you also want to hide the visual grid to clear up your workspace.
Smart Guides (Alignment Lines)
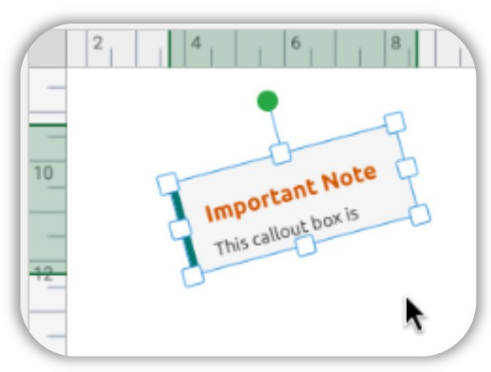 When you drag any element on the canvas, Smart Guides appear as semi-transparent teal lines that indicate when the element is aligned with the edges or centres of other elements on the page.
-
Smart guides use a smooth fade-in and fade-out transition rather than abruptly flashing on/off. This preserves high responsiveness while eliminating visual flicker.
-
The guide colour is a soft, semi-transparent teal – visible enough to be useful but not too heavy.
Smart guides work alongside (not instead of) the snapping system. Snapping “pulls” the element to the alignment point; smart guides show you where that alignment point is.